
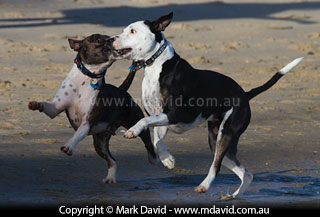
Glaring, bright light and contrasty dogs didn’t mean I had to stop using my camera.
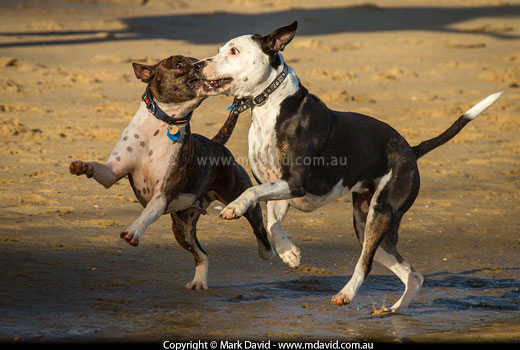
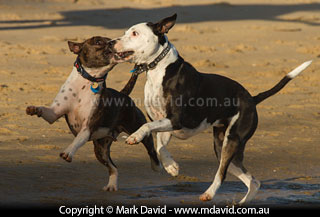
It was only 8 in the morning but the light was already far too harsh for my liking. This scene is typical of the kind of thing cameras struggle with. The white areas are extremely bright and end up being blown out (lacking any colour or detail) in the photos. And everything else looks harsh, contrasty and the colours are washed out.. Using your camera’s default settings you’re likely to get a photo looking something like this.
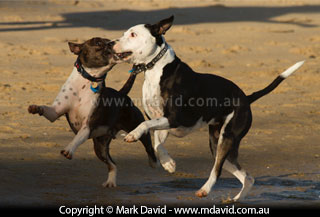
The first warning sign was the highlight alert. My camera has an option that flashes in black over any areas that are blown out when it previews the photo. And it was blinking madly over the bits of white fur, just like in this animation. That means I need to reduce the exposure.
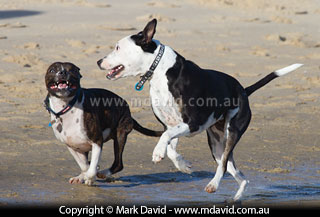
Using exposure compensation I keep stopping the exposure down until I can take a shot without that highlight alert blinking. So now the white furry bits aren’t overexposed any more, but the rest of the scene looks awfully dark. That’s okay though — I can work with that. From now on, I’ll be using the computer.
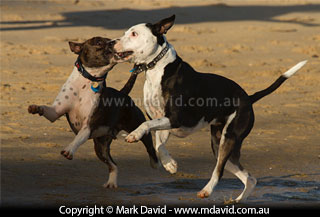
I’ve now opened the image in Lightroom, but pretty much any RAW editor will do. What we’re going to do now is to check the exposure. In this case I’ve overdone the exposure compensation. Things are a little too dark for my liking, so I’ve used the exposure slider in the software to increase the exposure just a little bit. Not enough to make the whole photo look right though. Instead, I lighten the photo just before the hightlights (the white furry bits in this pic) start blowing out and losing all their detail. The rest of the photo is still going to pretty bad, but we’ll fix that in the next steps.
Harsh light is often terribly desaturated, giving the scene a cold, washed-out appearance. So the next step is to drag the colour temperature slider until things look a bit warmer. Drag this too much and things are going to look too yellow, so just drag the slider until it looks right.
Lightroom and other RAW editors have a little slider that adjusts how bright the highlights are. It can be handy to show up a bit more colour and detail in those bright areas. But be careful not to drag the slider too much or else it’s going to look very fake. I’ve adjusted my highlights here, but only a tiny bit of adjustment was needed. In fact, at this scale it’s really difficult to see any difference.
Now’s your chance to make those shadows a bit lighter, and in the process you’re going to retrieve some lost details that got buried in all those underexposed areas. In Lightroom the slider I want is called ‘Shadows’ but your software might call it fill light. Drag the slider until you can see a realistic amount of detail in the shadowy bits. Not too far though, or else you’ll lose all your contrast and your photo will end up looking fake.
As a general rule, whenever I’ve lightened shadows and darkened highlights, your photo is going to start looking a bit grey and lacking in vibrance. So now is a good time to use the vibrance slider in your software to put a bit of life back into your shot. But once again, go easy with that slider. Too much vibrance and your photo will look very unrealistic.
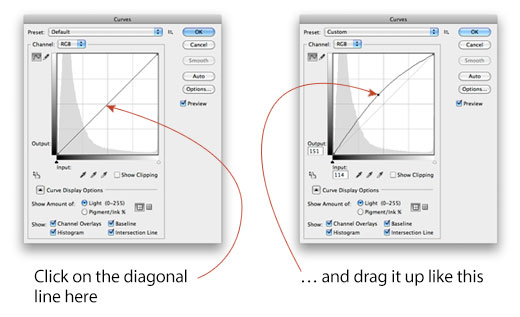
The last step happens in Adobe Photoshop, but if you don’t have that software you’ll find lots of other image editing software with a similar feature. I open the image in Photoshop and select Curves (Image menu -> Adjustments -> Curves). Click in the middle of the diagonal line and drag it up until the bulk of the image has brightened as much as you want. You might need more or less than I show here.
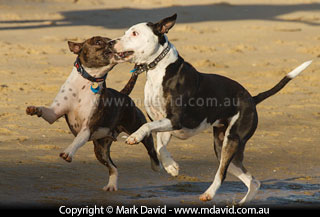
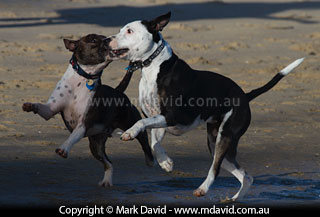
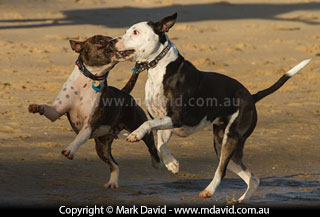
Here’s a comparison. Even after all this trickery your final image will rarely look as good as if you took the photo in beautiful light in the first place. But when you compare it with how it started out you’ll see that at least it’s an improvement. This method can often add a surprising amount of life to middle-of-the-day photography.
Copyright © Mark David. All rights reserved


