How the 3D cow illustration was made
There are lots of steps involved in using 3D software to make an illustration and
plenty of really good information about the subject already published, in books,
magazines and online. So I won’t try to explain everything here. Instead I’ll
show you the basic stages.
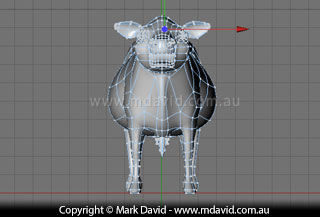
First thing is to model the cow. 3D artists talk about how easy 3D software is to use,
and once you’ve learned how to use it, it’s true that you’re able to work
quickly. But it’s not so easy to learn! I use Cinema 4D because when I bought it, it
seemed to have the easiest learning curve among the various packages, but if you want to do
this kind of stuff, expect to put in lots and lots of hours.
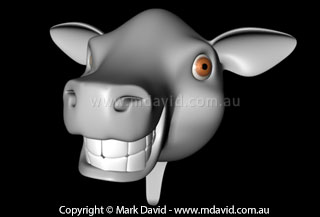
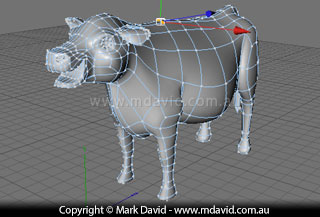
Whenever I model an animal I always start with the head. Here’s the first stage of
the cow model.
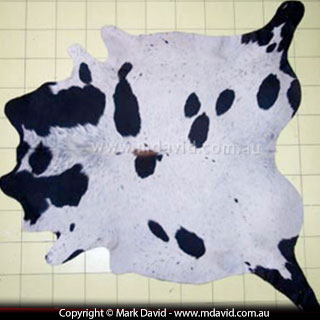
When it came time to put spots onto the cow I didn’t try to simulate a cow
texture. Instead, I took a photo of a cow skin rug. This resulted in a pattern much more
realistic than anything I could make up.
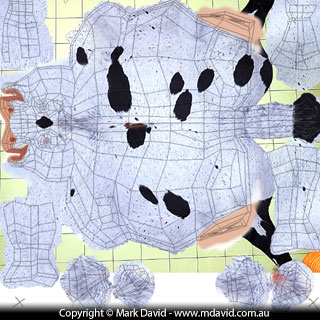
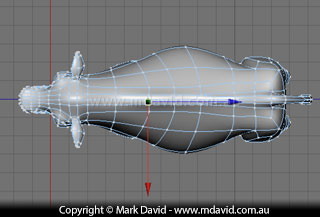
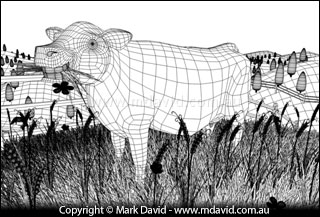
This picture shows a flattened version of my cow mesh with the cow rug spread over
it. That allowed me to line up the spots with the cow’s geometry. I used software
called BodyPaint to map the texture onto the mesh. It lets me see the
flattened surface of the cow in the same way as a map of the world lets us see a flattened
surface of the globe. That’s why 3D artists call this process ‘mapping’.
You’ll see I’ve made a few changes to the cow skin and also painted in some
of my own colours so things like the cow’s lips are the right colour.
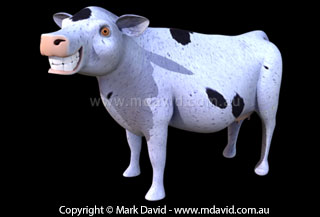
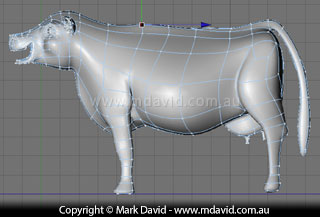
I’m satisfied with how the texture wraps around the cow now. I haven’t
bothered modelling the hooves because I planned to have them mostly hidden by some long grass.
Here’s where I put the cow into a landscape. I couldn’t resist the
classic idea of rolling green hills. I used the same Cinema 4D software which I’d used
for the cow to make the hills, the fence and the foreground grass.
I modelled a wheat plant and flowers, which I duplicated lots of times around
the cow. If you rotate them a bit each time you use them, it tricks the eye into seeing
them as all being different.
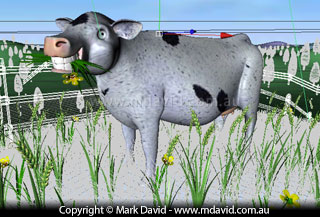
I’ve finished the job of putting materials onto everything and am ready
to get the computer to ‘render’ the scene. It looks a little bit strange
because I’m only showing it the way I see it when I work on it with the computer.
But rendering will change all that.
During the rendering process the computer does all the hard work. It makes an assessment
of every part of the scene I’ve assembled and draws up the final image, pixel by pixel.
During rendering the computer makes decisions based on the modelling, texturing, lighting
and any other effects going on in the scene. It can take a long time.
How much time, depends on a whole lot of things, like for example, how fast your computer
is, how many objects are in the scene, how complex those objects are, how many lights are
used in the scene, and how big you want the final image to be. To render this image big
enough for, say, a half-page magazine illustration would take about 10 hours on an old
computer or about an hour on a new one.
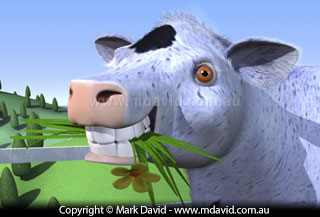
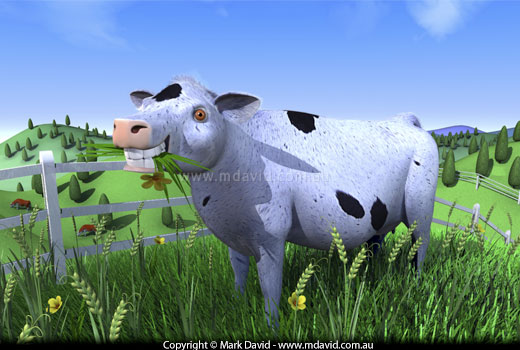
Here’s a close-up view of the finished illustration after it had finished rendering.
I’ve opened the rendered file in Photoshop and painted a bit of fuzzy hair around
the top of its head and ears, but the 3D software did everything else in the scene.