Making the Cheddar Warrior — looking into the water
3D software packages these days have powerful methods of creating all sorts of
materials. However sometimes you can save a lot of time by combining the power of your
3D software with that of your 2D software. The 3D software I used was Cinema 4D and
the 2D one was Photoshop. Here’s how I gave the illusion of water.
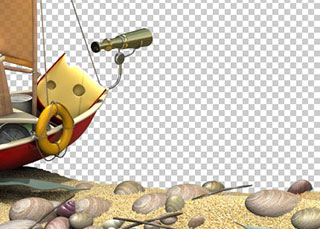
1 - Top level
The stuff you can see is the uppermost layer in my composited
scene.
The grey and white checker board pattern is Photoshop’s way of telling me that
part of the image is completely empty, which means it’s going to reveal whatever
layer I put underneath.
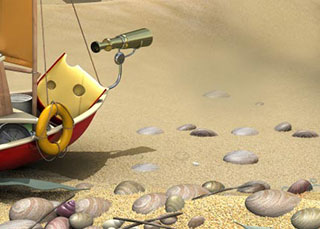
2 - Tide’s out
At this stage, I’ve put a render of sand and pebbles underneath the foreground
layer. So the eye interprets it as being behind the boat. It looks like the sand goes on
forever, which is just the impression I want to make. I’ll put a layer of water over
it next.
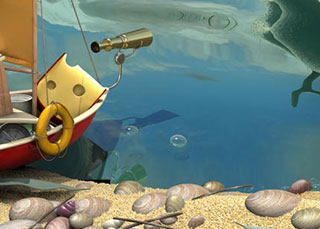
3 - Tide’s in
Here’s the water. The water is hiding the sand beneath it because you can’t
see through it yet. So it’s time to use some of the power of Photoshop …
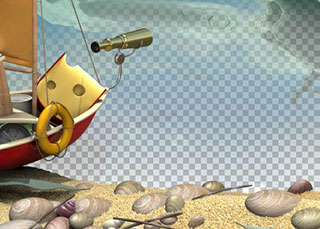
4 - Transparency
I’ve made the water transparent at the bottom of the picture going up to
not-transparent at the top. You can judge the amount of transparency by how much of that
grey checker board pattern you can see through it.
In the next step we won’t be seeing grey checker board through the water.
We’ll be seeing sand.
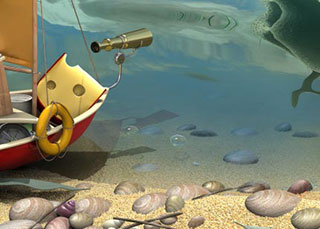
5 - Instant water
… And here’s the sand seen through that semi-transparent water. This was
really quick — only about ten seconds of ‘work’ to get this effect.
That’s why I chose this method instead of making it all happen in the 3D program.
As much as I love 3D, I love my time even more!