The original scene only had the rat in it. But I figured it needed some company so I built a mouse. Here’s how.
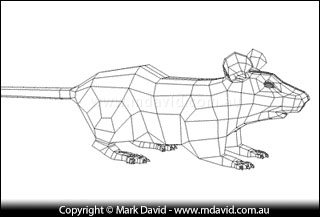
The first step in making a mouse is to model it in the 3D progam. This shows what we call a ‘mesh’, and this ‘wireframe’ view shows how the model is made up of lots of 4-sided shapes called ‘polygons’.
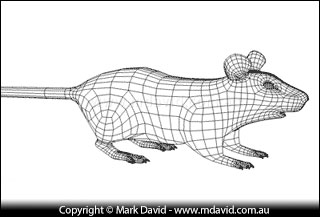
The Cinema 4D software I use has a thing called HyperNURBS modelling, which turns a rough model into one that looks smoother and better than it really is. Here’s how the mesh looks after running it through HyperNURBS.
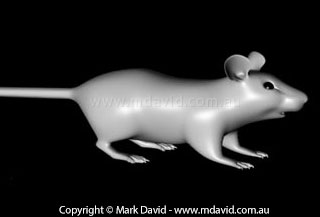
To see how the mouse is coming along I do a quick render. Rendering is the process of having the computer convert all your hard work into a finished picture.
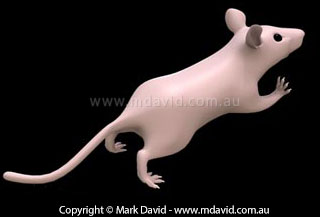
Here you can see the mouse posed in the position he’ll be standing in the final scene. I’ve given it a basic skin-coloured texture too.
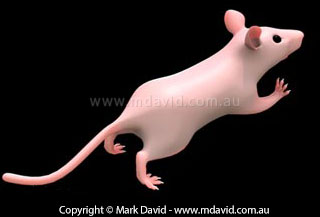
Sub-surface scattering is the spreading of light just underneath the skin. It’s what causes human skin (and mouse skin) to have a sort of inner glow and look more alive. It’s a subtle thing, but it helps make a picture more realistic. Here you can see the sub-surface scattering cause the ears, nose, feet and tail start to glow a little bit.
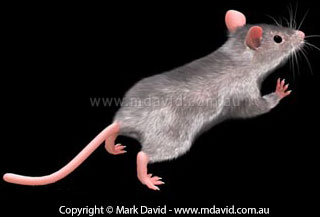
Cinema 4D has an add-on module called ‘Hair’, which does what you think it does. I’ve used it to add some fur and whiskers to the mouse. I’m happy with the length of the fur, but not yet happy with the shading on it. More information about the fur here.
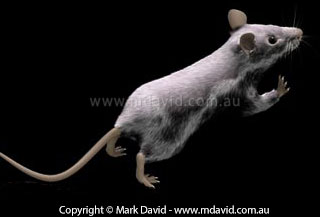
Here I’ve got the fur working better. I’ve temporarily switched off the sub-surface scattering to save some time (described in step 5. Can you see how lifeless the skin looks without sub-surface scattering?) I’ve also tapered the mouse’s tail, which is something I should have done earlier.
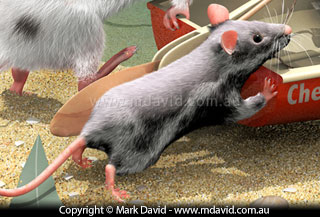
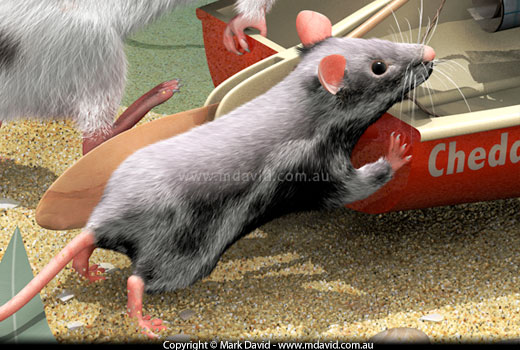
Here’s how the little guy looked in the final scene. To make it a bit more realistic I’ve buried his feet in the sand.
Copyright © Mark David. All rights reserved | Mark David on Google+