Making the Cheddar Warrior — sticking it all together
3D artists talk about ‘compositing’. That’s where you make up a
complex image by sticking different bits of an image on top of each other. The reason
we do it that way is because a picture might be too complicated to build in one piece.
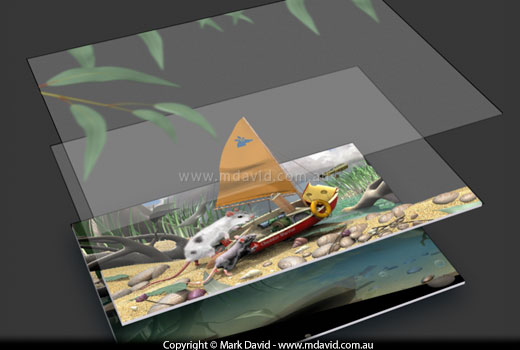
Here’s the compositing I did for the Cheddar Warrior.
The Cheddar Warrior scene was made up of three main layers, starting with the background layer
visible above. Click on the button to show the other layers to the scene. That will show
you how the compositing worked.
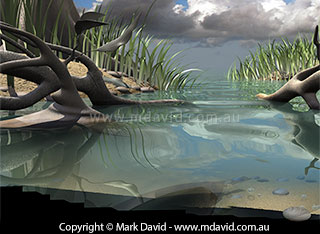
1 - Building a background
When I created this background layer I needed a different type of
lighting setup to what I’d used for the foreground stuff, and that’s one of
the reasons why I made it as a separate file.
One thing that takes a real lot of time is a thing called rendering. Rendering is
the process of getting the computer to turn all your modelling, lighting, texturing
and other stuff into a finished image. That can tie up the computer for hours or even
days. So if you can cut your render time then it’s worth it.
That reflective wavy sea water takes forever to render so I just masked out the
bottom of the image with some fast-rendering solid black. After all, that bit’s
going to be covered up with the forerground stuff.
This background has already had some tricks applied to it, to give the impression
that you can see through the water to the sandy bottom. In
the original render you couldn’t see through it.
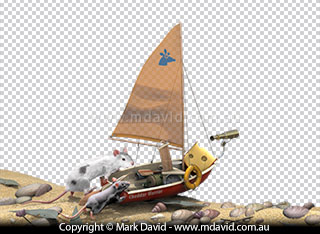
Building a foreground scene
Here’s the foreground layer which goes directly above the
background layer.
Here are the rodents and the boat. That grey and white checker board pattern
you see here is something that Photoshop does. That’s its way of showing the bits
where I haven’t put anything in yet. It represents the transparent parts of that
layer through which we’ll be able to see the background layer sitting beneath it.
The checker board pattern doesn’t show up in the final image.
I used a special kind of lighting for this scene called HDRI
for this. HDRI stands for ‘high dynamic range image’. Still doesn’t
make much sense does it? Well, using an HDRI setup lets you light a scene in pretty
much the same way that nature does. You see, in the real world, objects are cast with
reflected light from everything around them, and those reflected rays of light give
an object subtle tones and glows which we think of as being ‘realistic
lighting’. In the computer setup I used here, the HDRI part of the lighting refers
to the fact that I use a special kind of super-intense photo, a high-dynamic-range one,
wrapped around the scene, to illuminate it.
You might be wondering why, if HDRI is so good, I didn’t use it for the
background as well. The reason is because HDRI takes an awfully long time to render
and for something as complicated as that background it really wasn’t practical.
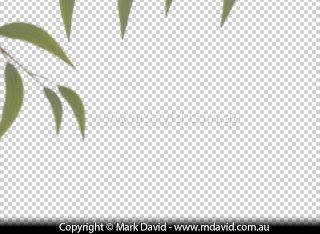
Finishing it off
These gum leaves, with the suggestion of light shining through
them, were placed on top of the other layers.
I could have built the entire scene in one very complicated file, and rendered it in
one go. The software I use, called Cinema 4D, can handle it. But when you’re
working to a deadline it’s often better to think about what your needs are and
how to get there most efficiently. Rendering the file in one go would have taken my
computer hundreds of hours to finish the scene. And it would have taken me a lot of
extra time in setting it up too.